When creating the secondary source mood board, I came across some After Effects tutorials on Youtube, such as the one below. I decided to try this 'glitch' effect as it uses expressions which are a feature of After Effects which I have been wanting to try.
In order to have a foundation for this video, I decided to use the logo of the band I am using with their permission. Placing this image into photoshop, I created both transparent, monochrome, and stencil versions of this logo, which could be useful in future tests. The one thing which inspired me about the video above was the original simplicity of the logo, so I also isolated just the text from this logo, creating a slightly edgy, handmade feel to the final image, relating back to the more retro style of their music.

After isolating the logo, I transferred this into After Effects, along with some stock glitch footage which is available to use as part of the tutorial. Using a displacement map, I displaced the text (image) layer from the glitch footage, resulting in a clean glitch effect. I then staggered this effect across the 7 second clip, and varied each vertical and horizontal displacement to add interest to this feature.
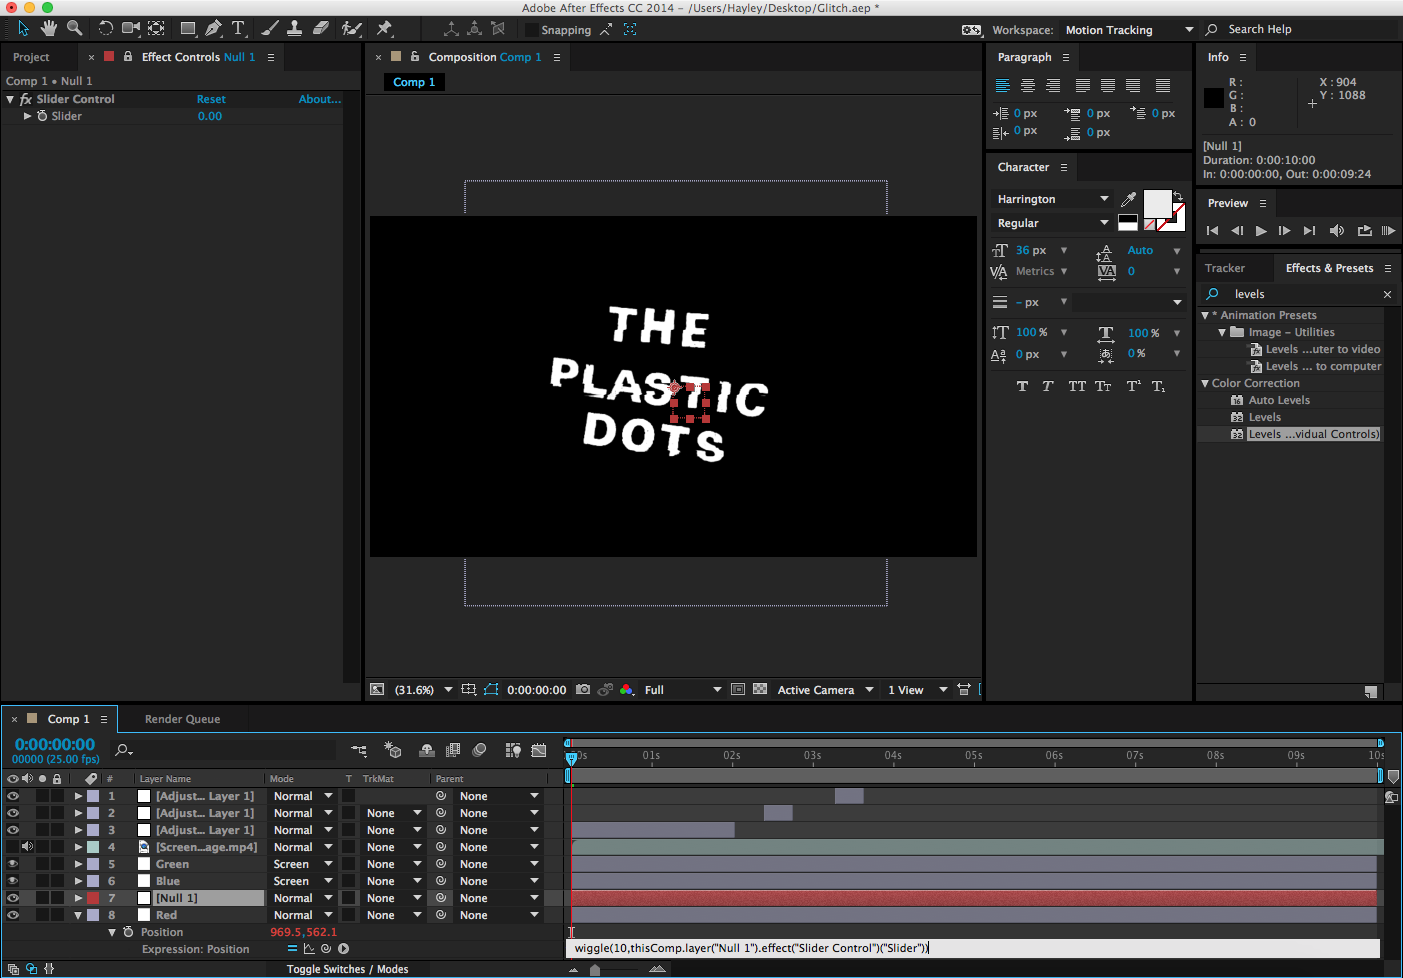
In order to soften the glitch and create an effect similar to an older TV (relating back to that used by Dmitri Basil in the Riptide video) I used an expression, wiggle, to do exactly that. By creating a null layer and typing 'wiggle(10,' this set the value of the expression. then, clicking the spiral button, I linked this to the slider control, meaning that whatever I set the slider to, this will effect the intensity of the wiggle. Despite only touching on expressions, they are far more simpler than having to animate each individual keyframe, and could be useful in my final video.

Taking this a step further, I then isolated each layer into red, green, and blue channels using the 'Levels (individual controls)' effect, and setting the layer mode to screen. From this, I decided I wanted to separate the red channel, so used the shortcut 'P' to open the position tab, before altering this, resulting in the red/blue shift above. This was effected by the expression and displacement map, resulting in an effect you would see on an old, broken monitor.
Overall I'm really pleased with this title effect, and could see it being used either at the start or at the end of the video. As it is transparent this can be overlaid onto existing footage, making it a versatile title.
No comments:
Post a Comment